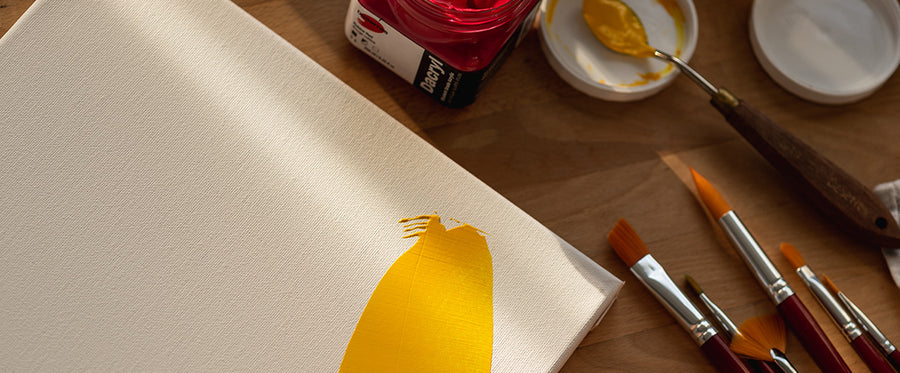


MATERIALS:
- Shinhan watercolours
- Paintbrushes
- Stampo stamps
- Watercolour paper
- Instax images
- Magnet
- Glue
- Pencil
- Ruler
- Utility or craft knife
INSTRUCTIONS:
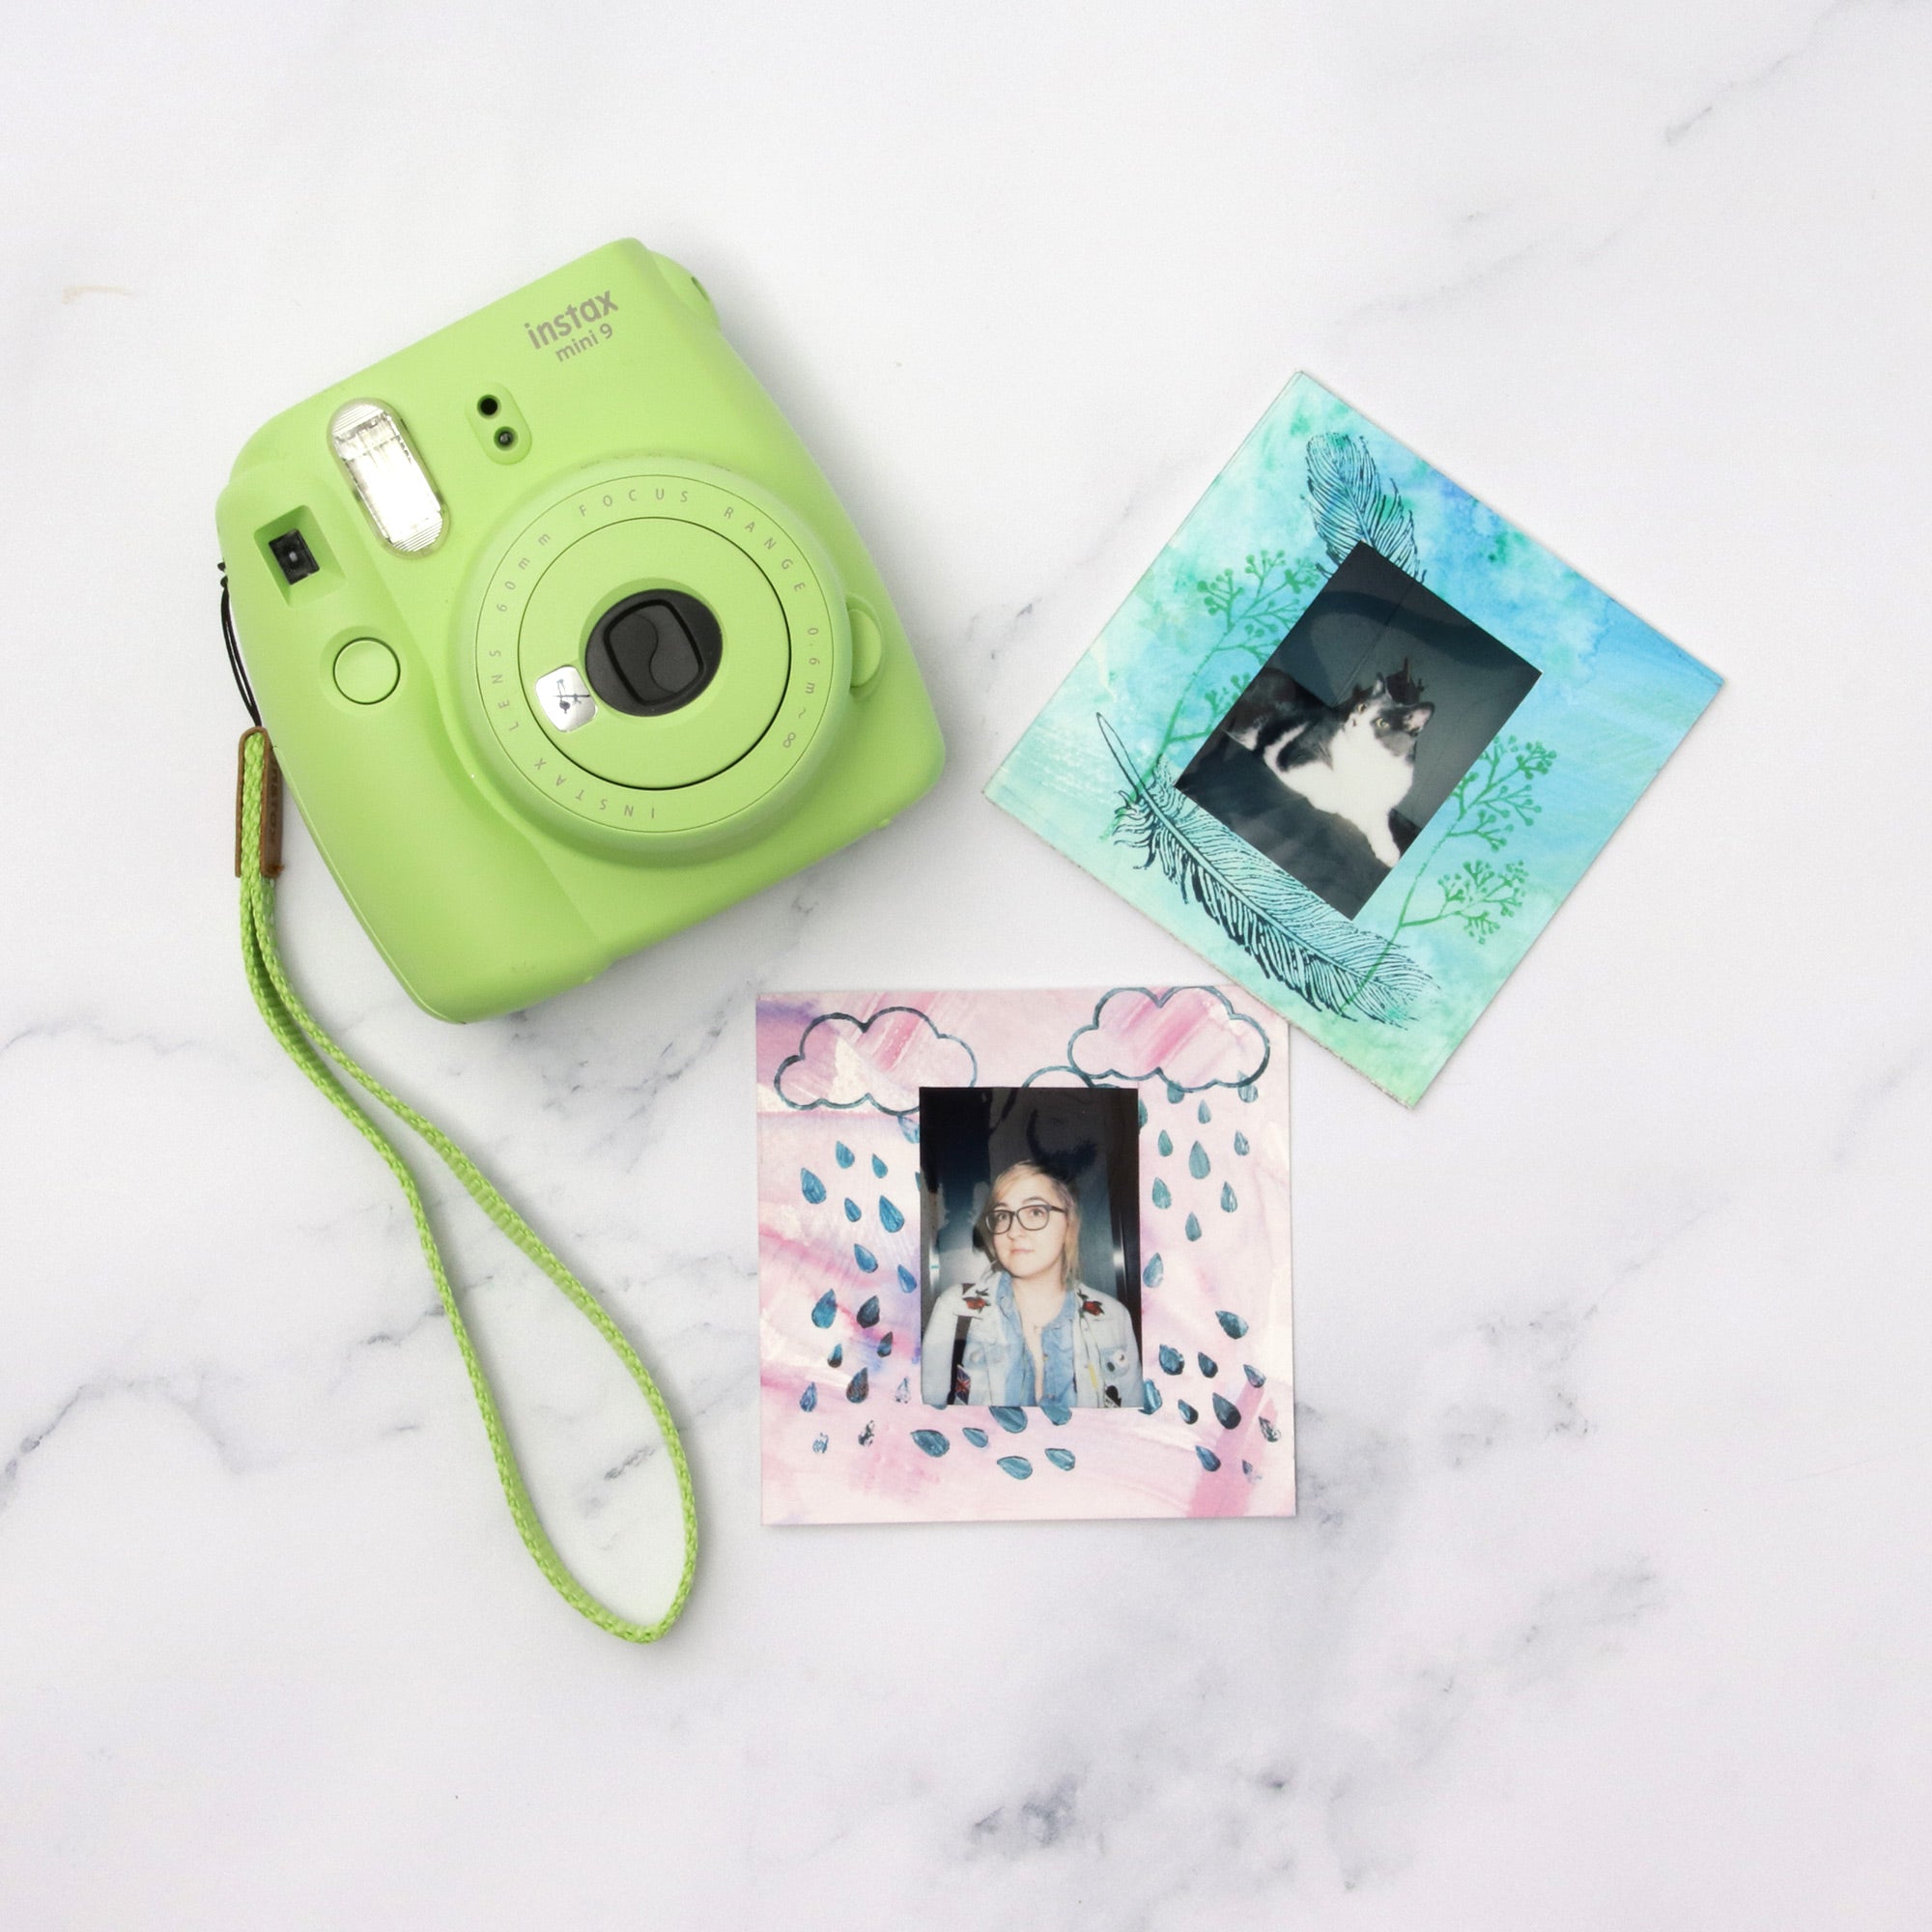
How to frame your Instax memories
Step 1:
With a paintbrush, fill your entire sheet of watercolour paper with abstract colour washes and textures in various hues. (For ideas on creating texture with watercolour paints have a look at our tutorial here.)

Step 2:
When the watercolour base paint is dry, cut the paper into 4 x 4 inch squares or larger.
Step 3:
Using a fairly dry application of watercolour paint or ink, stamp motifs on your painted squares.

Step 4:
Measure and cut out a window in the center of your square that is approximately 2 1/4 x 1 3/4 inches (or the size of the Instax image you want to frame) .

Step 5:
Cut a blank sheet of watercolour paper the same size as your frame. Glue 3 of the sides together at the very edges, leaving the top edge open.

Step 6:
Slide you Instax image into the frame. Attach a magnet to the back and display your instant memories on your fridge or locker door.
TIPS:
- Washi tape can be used to mask off areas when you paint
- Make various shapes and colours of frames