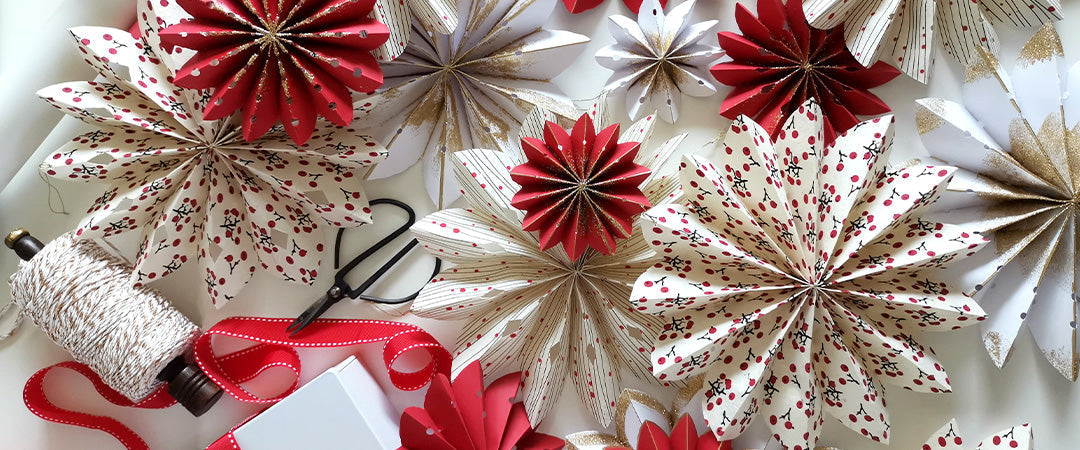
Decorating with paper can be a simple solution—you can create beautiful objects with very little AND get the best results! This is what our expert Chloé Comte invites you to explore with this DIY project. Whether you’re using recycled paper, wrapping paper or kraft paper, limiting yourself to no more than three colours is key to achieving a beautiful decorative effect. Here, to match the fir green, Chloé chose red, white and gold. Get creative!
A project by: Chloé Comte
MATERIALS:
- Fabriano papers (Fun fact: Did you know that Fabriano paper is made from materials sourced from responsibly managed forests?)
- Scissors
- X-Acto knife
- Graduated metal ruler
- Cutting mat
- Adhesive tape
- Hole puncher
- Gold twine
- Gold leaf glue
- Glitter
- Gold powder

INSTRUCTIONS:
Step 1
Start by cutting 25 x 50 cm strips of paper to form large stars. If you want to make smaller ones, you can reduce the size, but keep the same ratio (e.g. 20 x 40 cm; 15 x 30 cm, etc.).
Step 2
Accordion fold the paper strips.

Step 3
Make sure the fold starts and ends in the same direction on both sides. You can cut out a strip if this is not the case.

Step 4
Cut the edge of the folded paper strips into an arc.

Step 5
Tie the centre of the folded paper strip tightly with the gold twine three times. Tie a double knot at the back of the future star.

Step 6
To add more detail to the stars, you can make several small cuts through the multiple layers of the folded paper strip.

Step 7
Take the ends of the strip on either side of the gold twine and join them together to secure them with tape.

Step 8
Punch a hole in one of the star points; put a piece of twine through and hang.


Step 9
To take this DIY project a step further, you can add some shine or colour to the stars. Experiment with a few mediums, such as mixing gold powder with gold leaf glue, or placing gold leaf glue in the centre of the star to cover it with glitter!


Tip:
The thicker the paper, the more durable the stars. However, they might be a little harder to cut out if you use thicker paper, so make sure you have a good pair of scissors!


