
Father's Day gifts:
Let us guide you!
Current categories


Make your outdoor space truly yours
Paints, macramé, and creative projects under the sun.

Everything for a successful kids' party
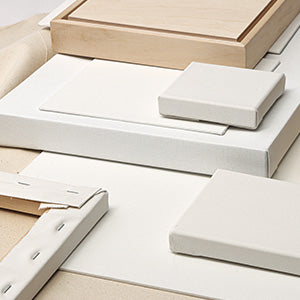
 Craft activity
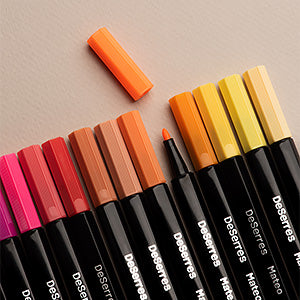
 Painting and colouring


