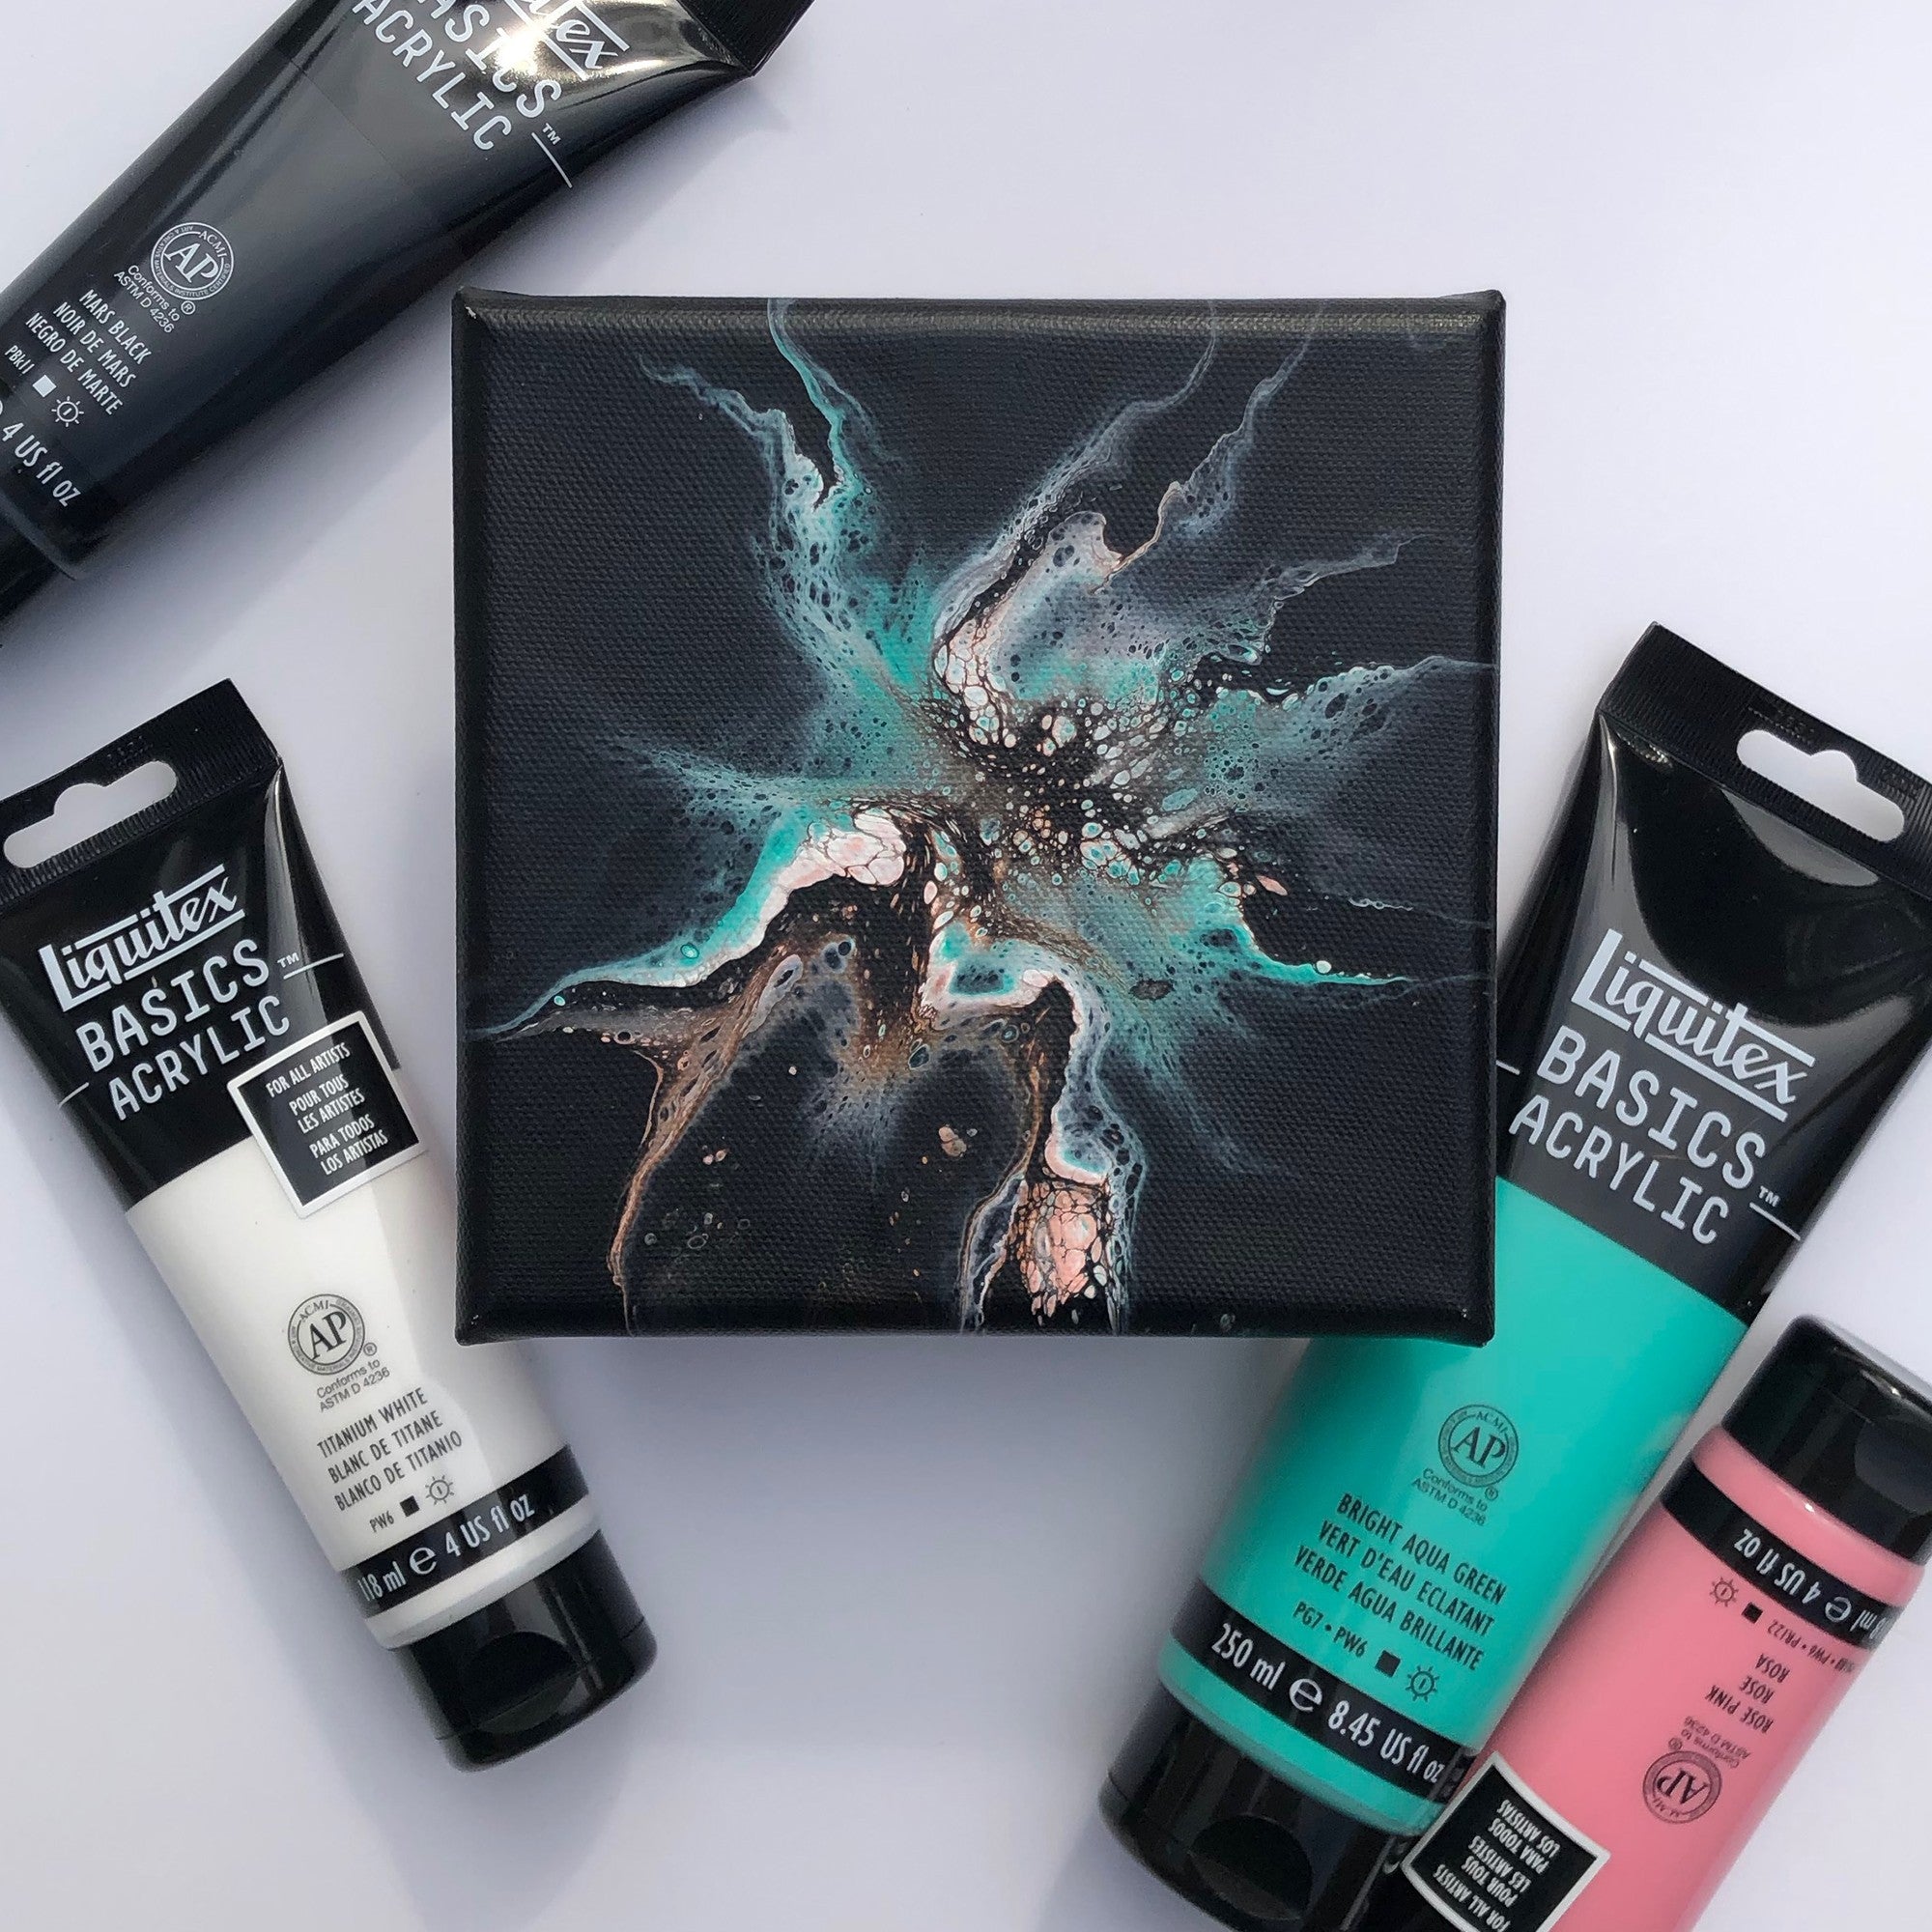
Pouring techniques create fascinating, unique artwork. With so many creative possibilities, it’s a fun time guaranteed. In this step-by-step guide, DeSerres Expert Mélyna Leclerc demystifies a pouring technique that’s gaining in popularity: Dutch Pour. Get your containers ready!
MATERIALS:
- Acrylic paint (preferably opaque and fluid colours)
- Pouring medium
- Water
- Torch or embossing iron
- Hair dryer
- Canvas
- Glasses or containers for mixing paint
- Wooden sticks
- Latex or plastic gloves (to keep your hands clean)
- Tablecloth (to protect your workspace)
INSTRUCTIONS:
Step 1 :
Prepare the acrylic paint. Stir the medium into the acrylic paint to create a homogeneous mixture. With professional-grade paint, mix 1 part paint to 3 parts medium. With student-grade paint, mix 3 parts paint to 1 part medium.
Step 2 :
Gradually add water to the paint mixture until very fluid. The paint should flow off the stick easily, without being as liquid as water (similar to the consistency of 10% cream). Mix gently to create a homogeneous mixture.

Step 3 :
Pour a base colour of your choice (often white or black) and spread it all over the canvas using the hair dryer. Run a finger over the sides of the canvas to ensure that they’re wet and that the accent colours can easily flow over. Quickly run the torch or embossing iron over the surface to remove air bubbles.

Step 4 :
Pour accent colours alternately and in small quantities onto the canvas. Pour the colours one on top of the other, either in a “puddle” or in streaks.

Step 5 :
Pour the base colour around the accent colours. The base paint should only touch the accent colours, as the base colour could drown the accent colours.

Step 6 :
With the dryer, quickly push the base colour over the accent colours to cover them.
Step 7 :
Still using the dryer, blow all the colours in the direction of your choice to reveal other colours. To add detail and create beautiful movement, you can also blow gently with your mouth to disperse the colours more subtly.

Step 8 :Quickly run the torch or embossing iron over the surface to remove air bubbles and reveal the cells.

Step 9 :Let dry and protect your work with a top coat. I love applying several coats of Liquitex High Gloss Varnish or a good coat of Art Resin.
TIPS
- Mix the colours well and make sure that the paint, medium and water create a homogeneous mixture.
- Mix the paint gently, at a steady pace, scraping the stick and sides of the glass. This prevents air bubbles.
- Spread the base colour evenly over the canvas to obtain a thin film. Too much base paint could interfere with drying and design formation.
- Use the dryer in moderation. It’s great for extending the base colour and revealing accent colours, but excessive use will mix colours and create unwanted shades.
- Mix the colours well to obtain a fluid consistency and create more beautiful cells.
- Add silicone oil for more cells. Add a drop in one or two accent colours. Add the silicone oil at the very end, when your colours are mixed well.


