


Here, Nos petits doigts blogger Chloé guides fans of funky accessories through the all steps to making trendy and colourful earrings that really pop.
MATERIALS:
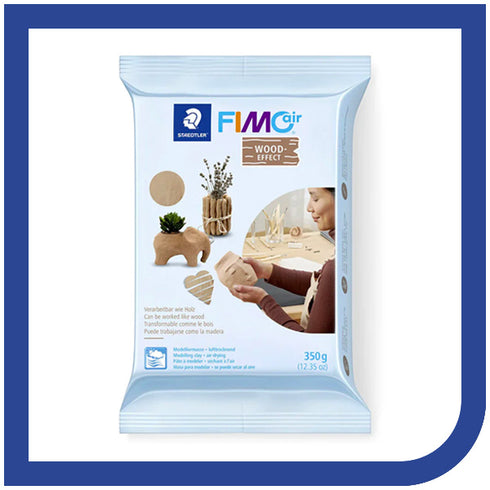
- Classic Fimo clay
- Soft Fimo clay
- Fimo glossy varnish
- Modelling tools
- Jewellery glue
- Jewellery pliers
- Roller
- Pompoms
- DMC thread or yarn
- Earring hardware
- assembly rings
- rods
- claps
- posts
- butterflies
How to make earrings out of Fimo Clay
Step 1: Warm up a piece of Fimo in your hands by making a ball with it. Once its malleable, use a roller to spread it out on a silicone sheet or parchment paper. Stretch out the clay until the desired thickness had been attained. Add your choice of different coloured shapes using modelling tools.

Step 2: Meld the colours together by rolling over the clay.
Step 3: Cut out your earring shapes using cookie cutters or modelling tools.

Step 4: Use a tooth pick to make holes for the rings that will connect the various parts of your design. Then prep the top part of the earrings, where the claps or posts will go. Pierce holes if using clasps or for posts, place directly on the back of the pieces and add a bit of clay to affix them. The baking process will secure the posts and you won’t need to use glue.

Step 5: Preheat the over at 230 degrees F (100 C). Place the pieces on baking sheet lined with parchment paper. Bake for 30 minutes with the oven door open. Remove the pieces from the paper and sheet to stop the baking process. Don’t worry if the pieces are still a bit soft, they will harden as they cool.
Step 6: Assemble your Fimo earrings using jewellery pliers to open and close the assembly rings and pass the claps through the pre-pierced holes as needed. Decorate with pompoms and ready-made tassels or make your own using DMC thread.
Step 7: Apply glossy Fimo varnish to give your work some shine and let dry.
TIPS:
Don’t pierce the clasp holes too close to the edge of the earrings; use your rings as a guide!
