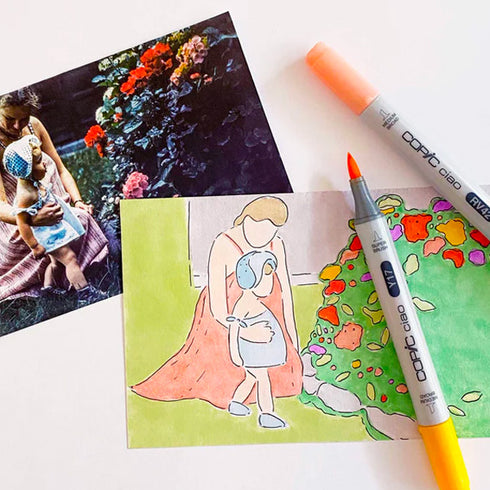
I’m sure I’m not the only one who loves receiving drawings from my child – but they’re often created on pieces of crumpled paper that are difficult to display. That’s why I thought of an inexpensive and creative way to preserve your little ones’ most beautiful creations, while allowing you to personalise them and match them to your decor.
By Emilie Desjarlais aka @brookandpeony
MATERIALS:
- Bright medium
- Brush
- Wood panel
- Acrylic paint
- Plastic spatula
- Scissors

INSTRUCTIONS:
Step 1:
Photocopy or photograph the drawing, and then print it in black and white.
Step 2:
Touch up if necessary (Photoshop, Lightroom, available on mobile). Print the mirror image and adapt it to the size of the canvas.
*It must be a laser print.
Step 3:
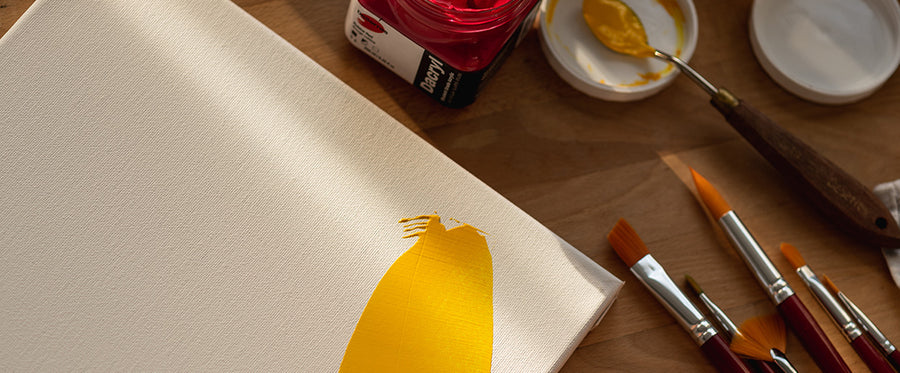
Apply your choice of acrylic colour on the canvas.
Step 4:
Apply 2 to 3 layers of gel medium on the canvas. Let dry.
Step 5:
Add a layer of gel medium to the sheet (on print side).
Step 6:
Glue the sheet onto the canvas, print side down.
*Do not put gel medium on the back.

Step 7:
Dry with a dryer.
Step 8:
Gently rub the back of the sheet with a damp cloth. When the image has appeared, dry again with the dryer and repeat.

Step 9:
Once the sheet of paper is completely off, finish with a layer of gel medium to even out the canvas.


