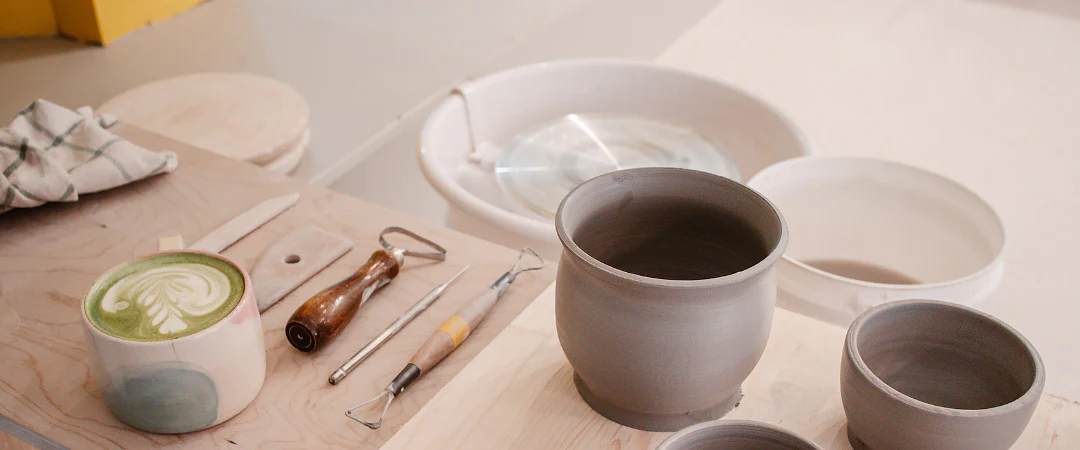
It’s an art form that celebrates slowing down and being present. Spinning your first piece may seem harder than it looks, but the key is to keep your hands on the clay and let go of the results … at least for the first few times!

MATERIALS:
- Pottery wheel
- Tool kit for beginners
- Clay: There are firing clays and non-firing clays. As it may be difficult to access a kiln, we decided to use PlastiSial Non-Firing Clay. Once completely dry, this clay can be glazed and painted, but it is not waterproof.
- Water container
INSTRUCTIONS:
Step 1
Knead the clay on a wooden surface or canvas-covered board. This will smooth the clay so that it is malleable, as well as remove any air bubbles.
Step 2
Form clay balls of about 400 g. 
Step 3
Sit in front of the wheel with a small bucket of water and a small sponge.
Throw the ball of clay as close to the centre of the wheel as possible and tap lightly to make sure it is secure. Then add water and work the clay with wet hands so that it glides between your fingers. If the clay sticks to your hands, add more water. Start the wheel counter-clockwise and control the speed with the pedal. It's important to work the clay only when the wheel is spinning so as not to distort the piece.
With the palm of your left hand (at 7 o'clock) and the fingers of your right hand (at 1 o'clock), press firmly on the ball of clay, pointing your hands towards the centre. Apply enough pressure to centre the clay on the wheel. It should not move between your fingers. 
Step 4
Press the clay between the palm of your left hand and the fingers of your right hand, crushing it to form a cone as shown in the picture. 
Step 5
Holding the clay with your left hand, gently crush the cone downwards. The resulting shape should look like a fairly thick puck, similar to a hockey puck. 
Step 6
Place your fingers in the centre of your shape while the wheel is spinning and press gently with the tips of your index fingers to open the shape. Add water regularly with the sponge so that your fingers glide over the clay.
Step 7
Enlarge the central hole, taking care to keep at least 1 cm of clay at the base of your piece, and not to dig too deep. 
Step 8
Compress the bottom with a wet sponge.
Step 9
Slowly pull the clay by compressing it between your fingers. This is a slow and delicate process, as the clay may collapse or become too thin and fragile at this stage. Pull the clay in small steps, 2 or 3 times, rather than all at once. If the piece becomes fragile or too thin, stop! 
Step 10
When the piece is finished, gently rub the sponge inside, outside and around the edges to smooth it out and remove excess water. The top edge, called the lip, can also be shaped with your fingers as shown in the photo. 
Step 11
Finally, run a wooden tool over the base to remove a small layer of wet clay. This drier area will grip your fingers better so that you can remove the piece from the wheel. Run the wire under the piece, pressing it against the wheel, and then remove the piece with your fingers. 
Step 12
Finally, let the clay air dry. You can either give the base a simple finish using the sponge, or you can put the hardened piece back on the wheel and create a base using a sharp tool and the turning technique.
Remember that mastering pottery takes time and practice, and even the most experienced potters can sometimes damage their pieces. This art form is great for letting go of results and embracing the creative process. 
Would you like to try your hand at pottery with experienced teachers, or improve your skills? Intro 2.5-hour workshops and pottery classes are offered at Les Faiseurs in Montréal.
Visit our website to learn more: lesfaiseurs.ca


