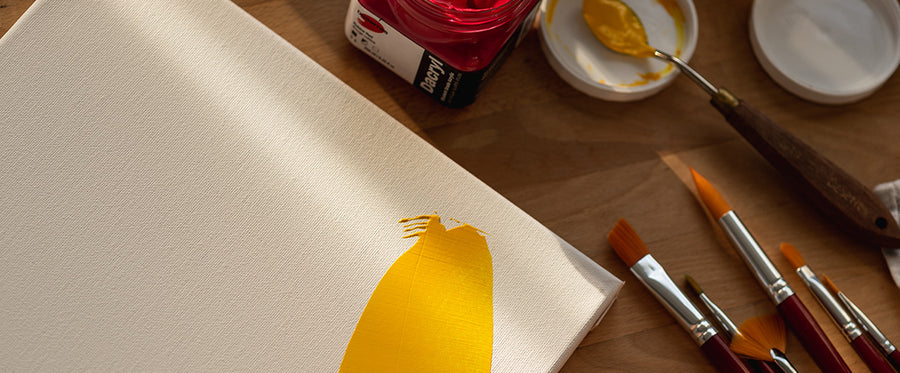
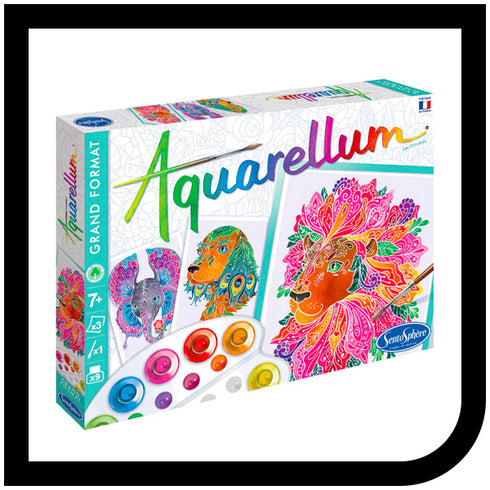


One might think that a computer and a good editing program are absolutely necessary to create a custom pattern, but you can easily do it on paper with the help of materials that are lying around in your workshop! Follow this guide to learn two simple techniques for making your own design on paper.
Materials:
- Graphite pencil
- Pigma Micron pen
- Mixed media paper
- Tracing paper
- Drawing paper
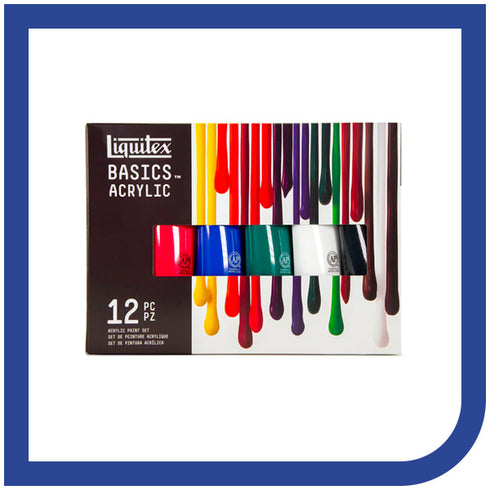
- Coloured pencils or paint
- Linocut block
- Linocutting knife
- Linocutting ink
- Linocutting roller
INSTRUCTIONS:
Technique 1: Using linocutting
Step 1:
Using your graphite pencil, sketch the shapes in your design on your linocut block.
Step 2:
Next, carve out your design with the linocutting knife. Anything you remove will not be printed, so be meticulous!
 Step 3:
Apply ink to your shapes using a linocut roller. Two coats will be enough to cover the entire surface.
Step 4:
Finally, press the block firmly onto mixed media paper (or fabric). Mix shapes to create your final pattern. You can also overlay the shapes to create an interesting effect.


Technique 2: Using tracing paper
Step 1:
Design the pattern you want to replicate on the drawing paper.

Step 2:
Next, place the tracing paper on your design and replicate it as many times as you wish to create a repeated pattern effect, using a graphite pencil.
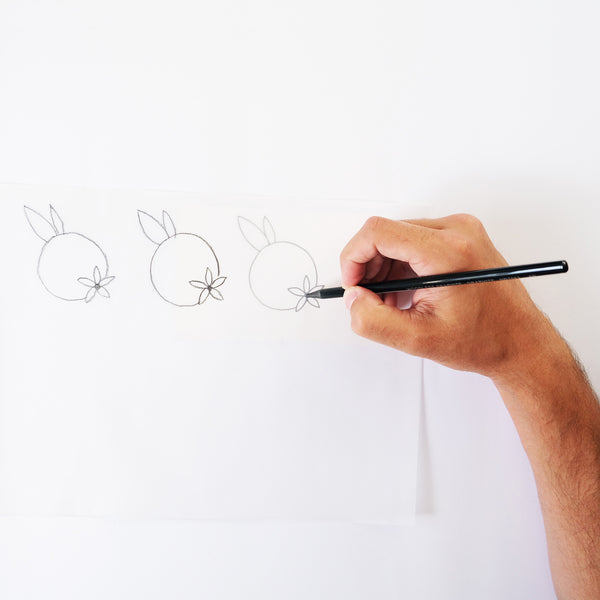
Step 3:
On a new sheet of mixed media paper, place the tracing paper with the pattern upside down (the graphite side on the mixed media paper directly) and trace over your pencil strokes so that the pattern transfers to the mixed media paper.

Step 4:
Finish with a precision Pigma Micron pen and add colour if you wish (with paint such as gouache, or coloured pencils and markers).