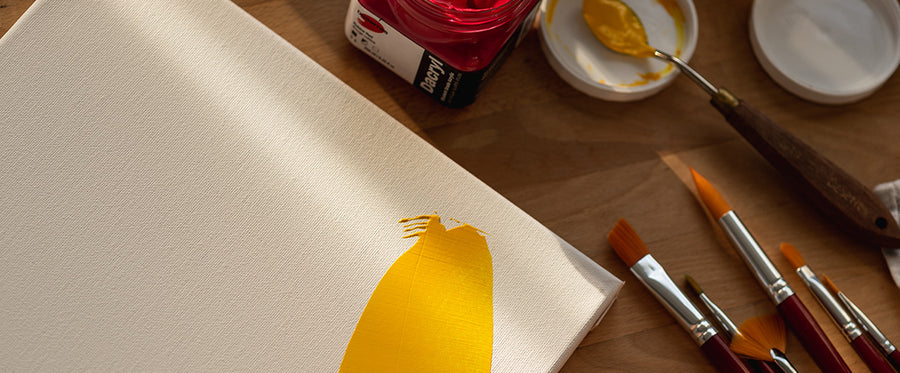


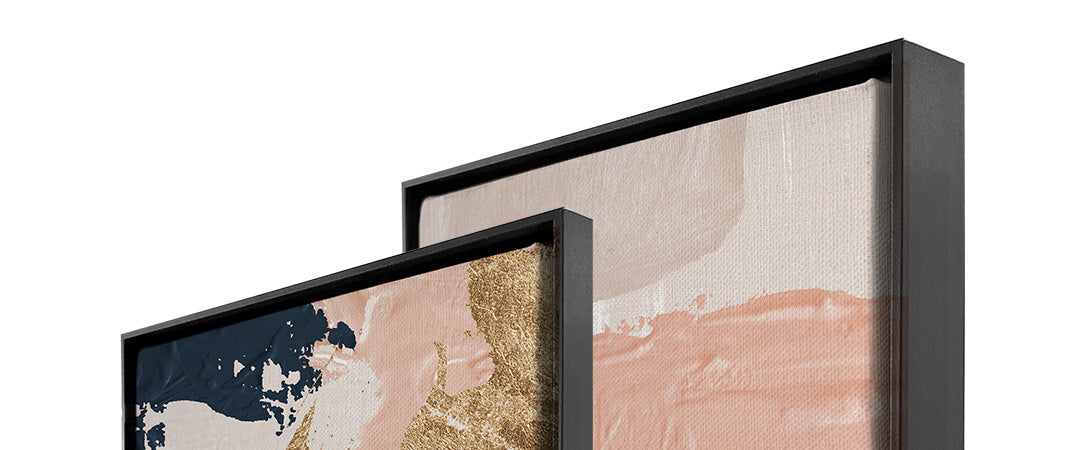
Meet Atlantic and Pacific—a painless and affordable way to frame your artwork! DeSerres’ pre-cut versatile aluminum mouldings are ideal for canvas or wood panels. The wide range of available formats allows the system to work with both standard and non-standard sizes. The sleek contemporary design pairs beautifully with the sturdiness of metal to create a look you will love for a long time.
Two moulding options are available based on the size and style of your artwork. Atlantic mouldings, ideally suited for regular canvases, measure ¾ inch wide and ¾ inch deep for a minimalist modern look where your artwork takes center stage. The thicker and deeper Pacific mouldings measure 1 ½ inches deep and 1 ½ inches wide to support larger, gallery-format canvases.
Read on to find out how to select and assemble your mouldings to give your canvas the perfect finishing touch!

Step 1: Measure your canvas
Measure the height, width and depth of the artwork you are looking to frame.
Step 2: Select your mouldings according to your measurements

Choose your preferred moulding style and size. Atlantic and Pacific mouldings are available in packages of two mouldings each, so that lengths can be mixed and matched to accommodate a wide range of canvas or panel formats. Mouldings in the Atlantic collection accommodate artwork ranging from 8 to 36 inches wide and up to ¾ inch deep. This collection is designed for use with regular canvases. Mouldings in the Pacific collection accommodate artwork ranging from 12 to 60 inches wide and up to 1 ½ inches deep. This collection is designed for use with gallery canvases. Mouldings are not compatible across collections.
Step 3: Assemble your mouldings
Once you've found the right mouldings in the right size for your project, it's time to assemble your frame! Important note: you will need to buy two packages each containing two mouldings to have a total of 4 mouldings.

Each box contains the following items:

- a: 2 mouldings
- b: 4 V-shaped brackets
- c: 6 small screws for V-shaped brackets and hooks
- d: 1 metal hanging wire
- e: 2 large screws
- f: 5 small screws for canvas installation
- g: 2 wall anchors
- h: 2 frame mounting hooks
A screwdriver is required for this step.
- Take the two V-shaped brackets and place them one on top of the other (the one with the two holes should be placed on top of the bracket with only one hole).
- Insert them into the corners of the mouldings.

- Use the screwdriver to secure the screws in place.

- Repeat these steps for all 4 corners of the frame.

Step 3.2: Install mounting hooks and wire
A screwdriver is required for this step.
First, insert the 2 mounting hooks behind the frame using the screws.

Tie a knot in the metal wire:
- Measure wire length: Before tying the knot, ensure that the wire is the right length to hang the frame at the desired height
-
Tie the knot at on each side of the hooks

- Cut excess wire: If necessary, cut any excess wire to prevent it protruding from the knot
Step 4: Insert your artwork into the frame

A screwdriver is required for this step.
Once your frame is assembled, insert your canvas into the frame and fix the screws in the 4 slots provided.

Step 5: Hang your artwork on the wall
Supplies required:
- Your Atlantic or Pacific frame with metal wire already attached
- Nail, screw or frame hook (depending on the wall)
- Hammer or screwdriver (depending on the type of mounting)
- Level
- Tape measure or ruler
Steps for hanging your art for it to be properly positioned and secure:
- Determine the best location: Decide where on the wall you wish to hang the canvas. Make sure it's at the right height and that it fits the overall aesthetic of the space.
- Measure and lightly mark the wall: Use a tape measure or ruler to measure the distance from the top of the frame (or wire) to where it will hang. Mark this point lightly on the wall in pencil.
- Find the fixing point: Use a level to ensure that the marked point is perfectly horizontal. Next, find the right fixing point for the nail, screw or hook. Make sure the fixing point is secure, such as a wall plug for plaster walls.
- Fix the anchor to the wall: Using the right tool (hammer, screwdriver, etc.), securely fix your nail or screw to the wall.
- Hang the canvas: Pass the wire of your Atlantic or Pacific frame over the anchor you have secured in the wall. Use a level to ensure that the frame is straight.
Your piece is now ready to enjoy!
It’s that easy! The best part is that you can change your artwork whenever you feel like it by ordering the length you need.
DeSerres’ modular finishing system makes displaying your art hassle-free and fun.