


Tempted to create your own trendy necklace? Here's your chance! This one is quick and easy to make with FIMO modelling clay. Once your necklace is shaped, all it needs is some time in the oven—and that’s it, you’re done. The perfect project for those who want to wear a real statement piece around their neck.
Follow the steps!
Materials:
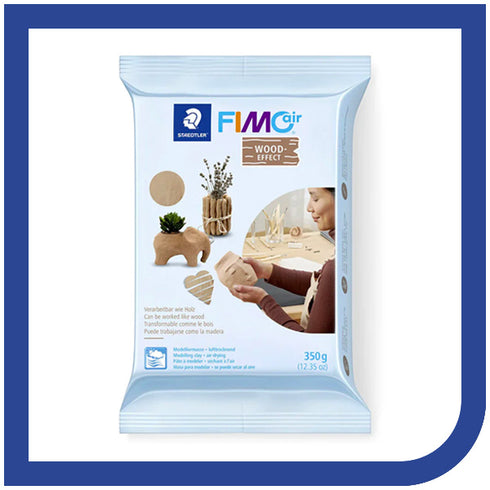
✓ FIMO Soft Modelling Clay
✓ Toothpicks
✓ Twisted rope
✓ Leather cord

Instructions :
Step 1: Take a small piece of FIMO modelling clay, warm it up in your hands and make a small, snake-like shape. Repeat with every colour.

Step 2: Twist the clay to make a large tube with all your colours. Roll into a ball and roll out into a long, uniform, snake-like shape. It must be long enough to then form into your desired shape.

Step 3: Pierce a hole through each end with a toothpick. Make sure it’s big enough to fit your cord through.

Step 4: Gently move the tube around to create your final shape. Make sure the holes are open enough to pass the rope through after baking.

Step 5: Preheat oven to 230 degrees F (110 degrees C). Line a baking sheet with parchment paper, place the FIMO shapes onto the baking sheet, and bake for 30 minutes. Remove the shapes from the oven and transfer them to a cooling surface. If they’re still soft, they’ll harden as they cool.
Step 6: Measure the rope on yourself and leave at least 8 cm extra length to make the knots. Pass both ends of the rope through the holes and tie two knots. Cut off the excess rope.
Tips :
- When using twisted cord, leave a bit of length at the ends and unravel once you’ve made your knots. This will add a nice boho feel to your design!
- Draw your project beforehand so you know how much FIMO you'll need to complete it.
Here is the result:

