


The joy of giving involves many steps. My favourite step is definitely wrapping, during which I let my creativity flow and get inspired by the person I want to spoil.
With a little imagination and a few materials, you can easily make eco-friendly gift wraps. Plus, the gift-receiver can even keep a souvenir of your love-filled wrap. Here’s how!
A project by: Chloé Comte
MATERIALS:
- Thick recycled cardboard
- Scissors
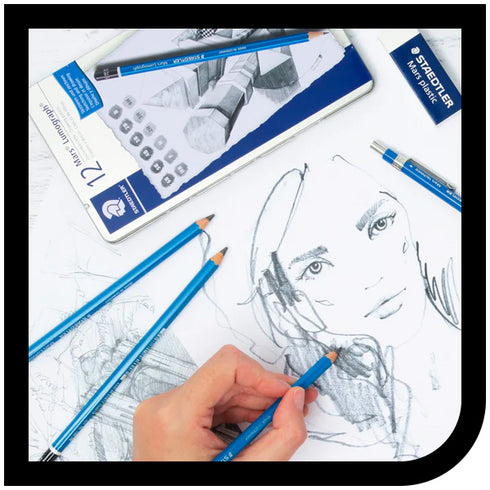
- Lead pencil
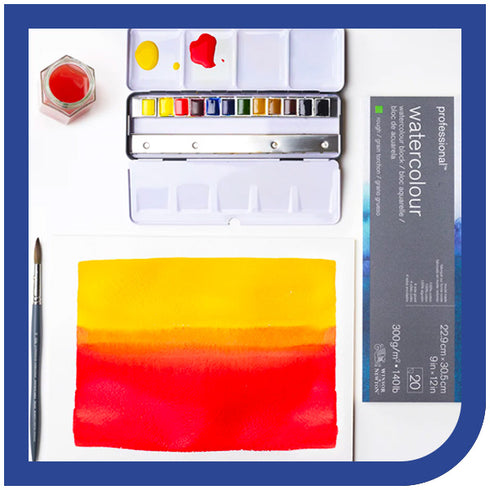
- Gouache
- Paintbrushes
- Bristol paper
- Coloured kraft paper
- Washi tape
- White glue
- Acrylic markers
- Adhesive tape
- Precision knife
- Cutting mat
- Palette

INSTRUCTIONS:
Step 1
On cardboard sheets (such as Bristol), start by painting large strips of colour.
Note: To get the little ones involved, I opted for gouache, which is easy to clean up.

Step 2
While the colour strips are drying, draw shapes with a pencil (houses, animals, gingerbread people, stars, etc.) on thick recycled cardboard, taking into account the size of the gift packaging you are decorating. With light pencil strokes, try to figure out the layout for your shapes.

Step 3
Cut out the shapes.

Step 4
On the back of the colour strips, draw (with a pencil) and cut out the coloured patterns that will decorate the recycled cardboard shapes.

Step 5
Position the coloured patterns on the recycled cardboard shapes to create the final look, cut them out and apply glue. These coloured patterns will add dimension to your gift wrap.
Tip: Apply the white glue with a brush so that it doesn't smear.

Step 6
For finer details, I recommend using acrylic markers. You can also use them on kraft paper gift wraps, to add a little contrast. Depending on the look you want to achieve, I also recommend using Washi tape.

Step 7
Stick the finished shapes onto the wrapped packages with a tape loop. This way, the gift-receiver can easily keep their cardboard shape, and even add it to their holiday decor!


