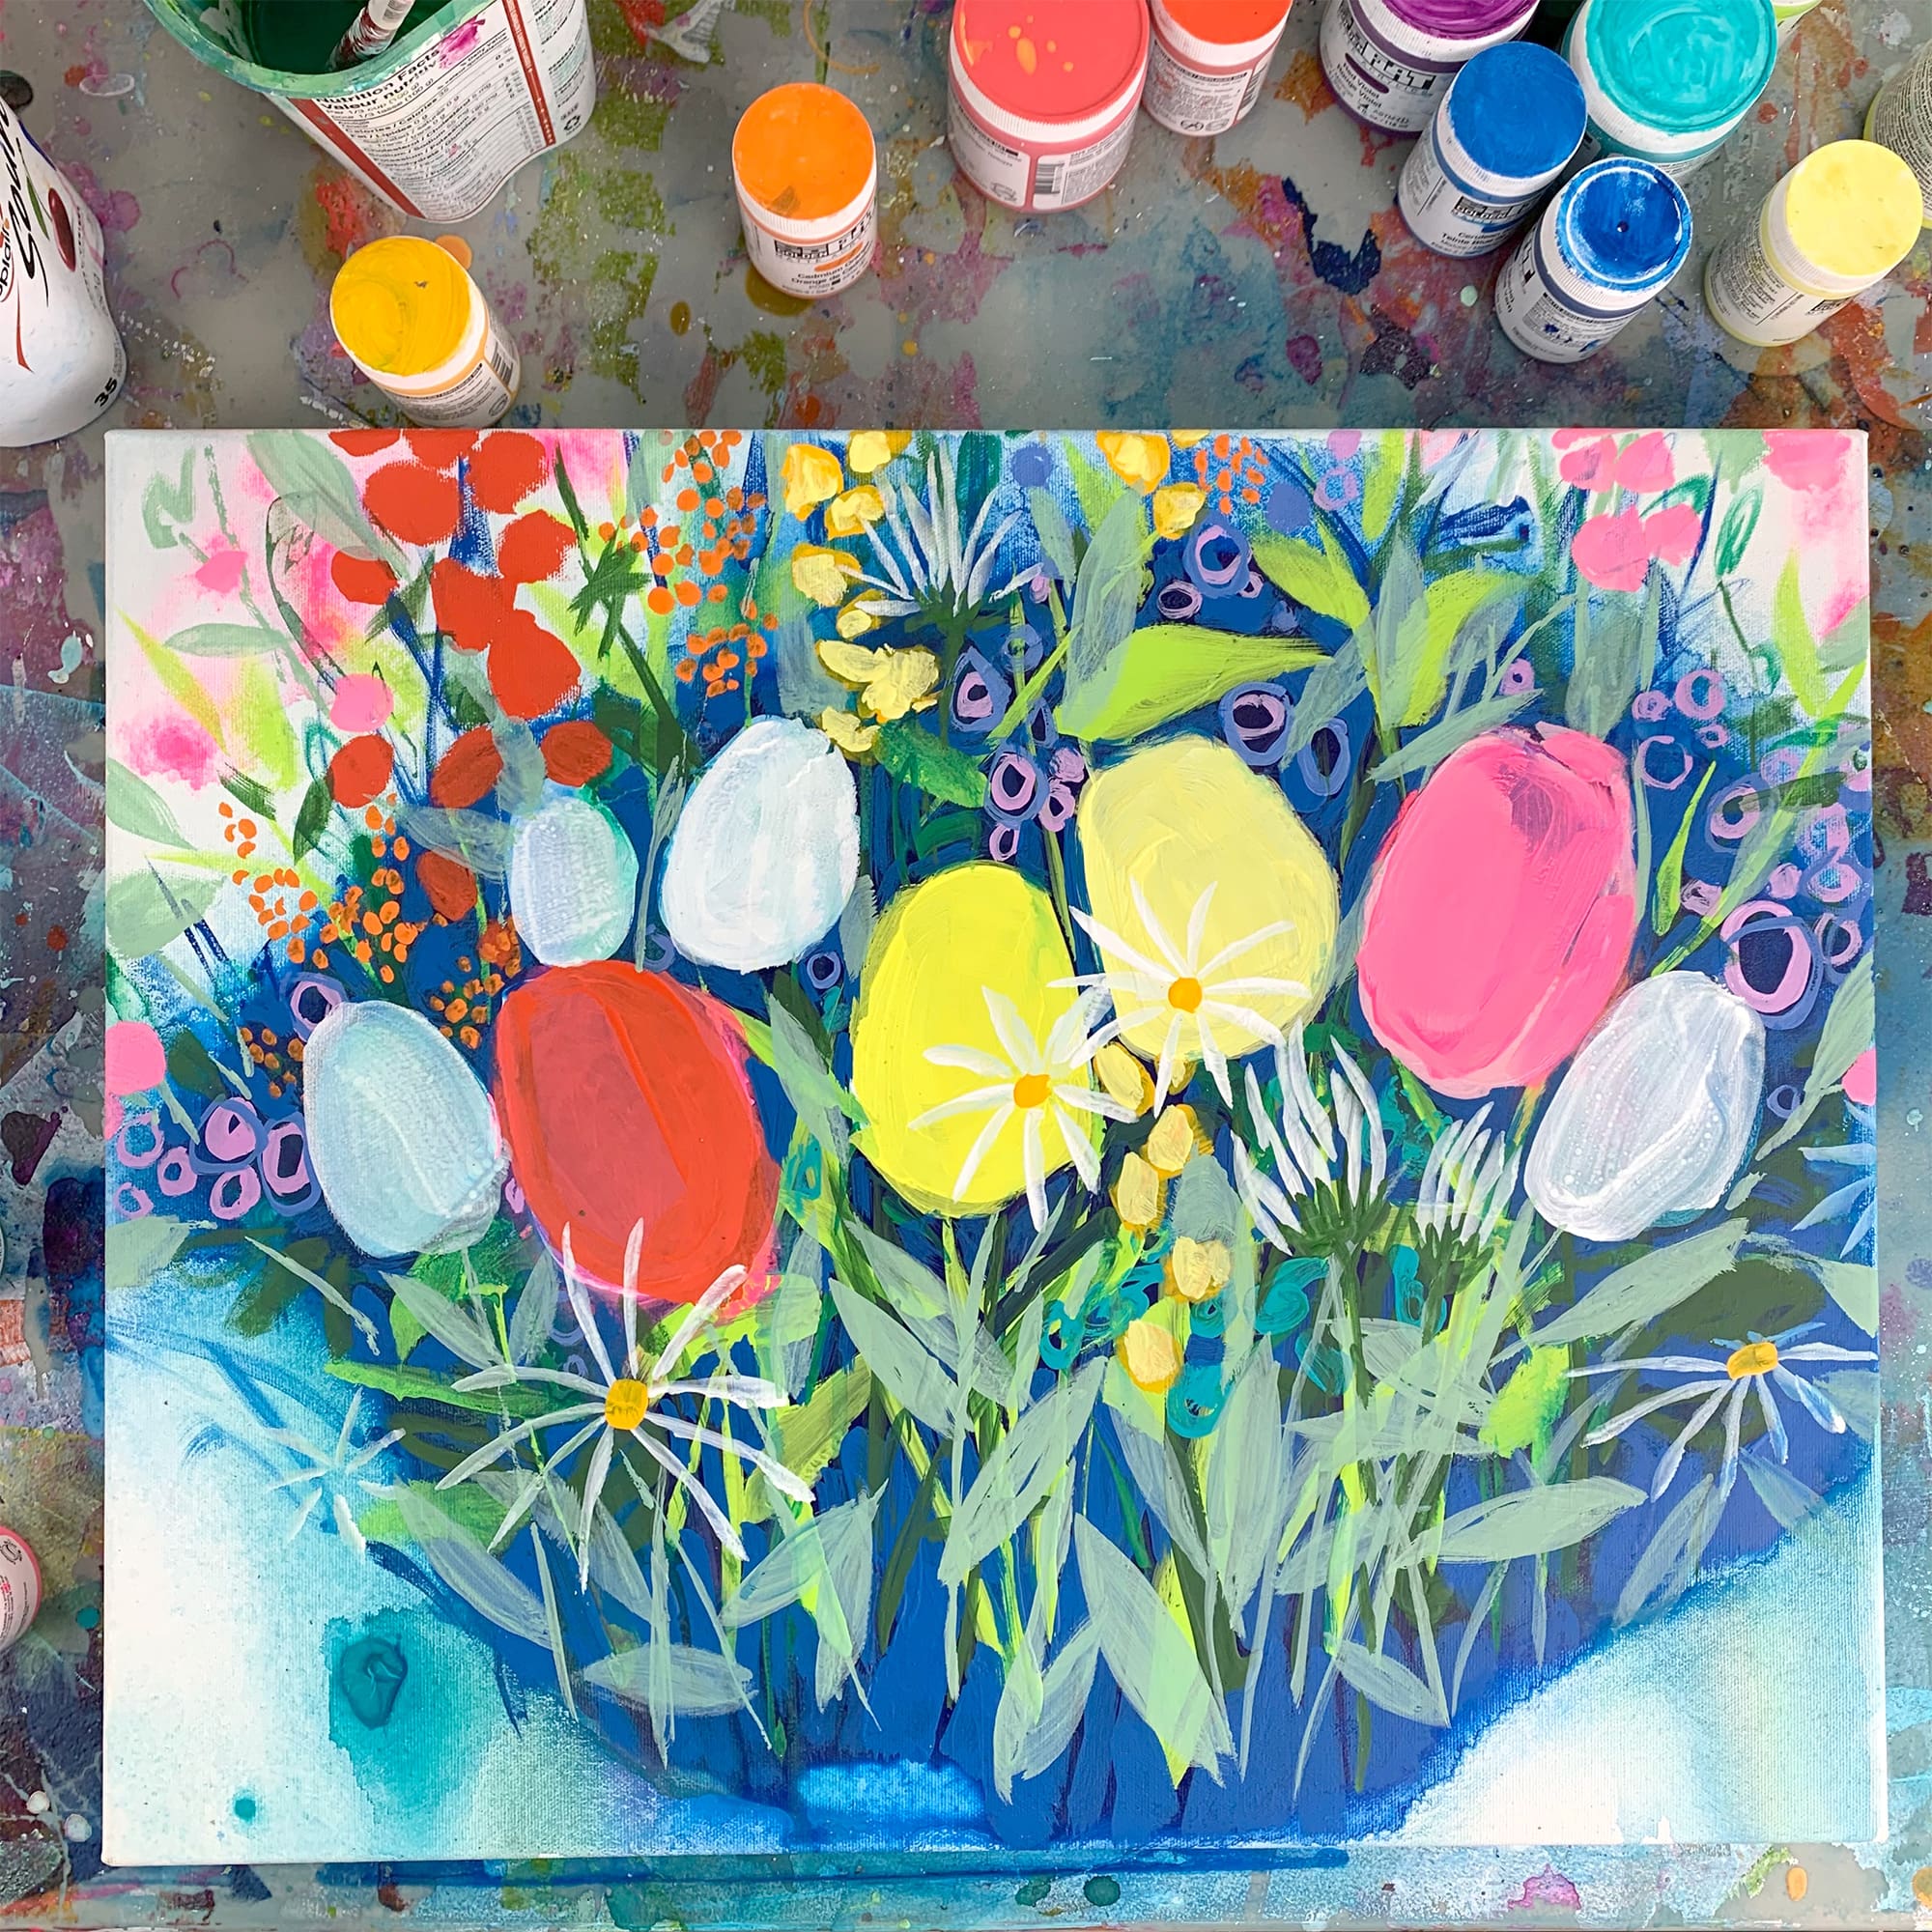
Welcome to my studio! I received some Golden SoFlat Acrylic Paints to test out, so I’m going to use them to create an abstract floral painting.
MATERIALS:
- Gessoed canvas or wood panel (any size)
- Golden SoFlat Acrylic Paints (colours of your choice)
- Spray water bottle
- Liquitex Matte Medium
- Liquitex Matte Varnish
- Clean, empty plastic container with lid (e.g. old yoghurt container)
- Paintbrushes of all sizes (synthetic, stiffer bristles are good for moving heavy-bodied paints around the surface of a canvas)
- Paint palette
- Acrylic marker (to sign)

INSTRUCTIONS:
Before starting, here’s a little warning: the first three steps can be particularly messy. So, be sure to work in a space that is well protected, or that allows you to paint (and splatter!) freely.
After experimenting with SoFlat paints, I found they were way more fluid than I had expected—almost like soft body paints, but not quite as liquid as fluid acrylics. The pigment load is high, so colours are vivid, and the paint feels like velvet when applied.
Step 1:
For this project, I used a small canvas. I wanted to create a ground for my painting, and since the paints are flat, I went with a matte ground (Liquitex Matte Medium).
Step 2:
For the background colour, I chose blue (but you can choose any colour you like!)
In a plastic container, I mixed a small amount of SoFlat paint with the matte medium. I filled the bottom with approx. 1 inch of medium, and then I added approx. 1 spoonful of paint, to start.
*Hint: You can always add more paint later if the colour isn’t strong enough for you. Adding less paint makes the mixture a bit more transparent, which can also be interesting.

Step 3:
Mix the paint and medium until smooth (no longer marbled). The mixture should have a similar texture to gravy.

Step 4:
Pour the mixture onto your canvas (this is where things can get pretty messy!) Hold the canvas with both hands and tilt it, moving the paint around. Try to keep most of the paint on the canvas and avoid having it run off onto the floor.

Step 5:
I sprayed the edges of my paint puddle to soften them. This creates a beautiful gradient!

Step 6:
Once I was satisfied with the shape of my blue pour, I set it aside and let it dry overnight.
*Note: If you use a fan, the paint will crack. I recommend letting it dry on its own to avoid cracks; however, if they do appear, you can simply integrate them into your design. When it comes to creativity, there are no rules!

Step 7:
Once dry, I painted some white shapes on top of the blue background (with the idea that I would later paint over the white to truly make it pop).

Step 8:
I added stems and leaves to my imaginary flowers using a lovely yellow-green, a colour I felt created a nice play of contrast with the blue background. I then added some pinks and sprayed some more around the edges to soften those colours as well.

Step 9:
I continued spraying and tilting until I was satisfied with the results. Once again, I let my painting dry overnight. Painting over wet layers can muddy up the colours, so it’s important to know when to take a break.

Step 10:
Once dry, I revisited my painting with even more bright colours: reds, oranges and yellows. I like to use colours right out of the container, but I sometimes also use a palette to experiment with creating my own hues. I used different-sized brushes to achieve a variety of shapes and sizes.
Step 11:
I like to record the various stages of my creative process, so that I can later refer to them. Paints can sometimes move around as they dry, which can present occasional surprises!
Step 12:
When I returned to my dry painting, I wanted to see how SoFlat paints looked under sunlight. So, I took my canvas outside and held it up to the sky: Golden is true to their word, there is no sheen to these paints! I love their smooth and vibrant colours.
Step 13:
The last step is varnishing. I varnish my paintings to protect them from dust, scuffs and scratches. For this project, I used Liquitex Matte Varnish so that I could maintain the flat look of the paints.
I like to use a clean, wide, synthetic brush to apply varnish. The trick to varnishing is to apply it quickly (don’t stop to check emails, don’t get on the phone, just varnish!) It dries pretty fast, and if you try to apply fresh varnish onto tacky (not-quite-dry) varnish, you get those pesky brush marks.
Your environment should be as dust/lint/bug/hair-free as possible. If any of those things get on your painting while your varnish is still wet, they will stick to it and dry there!

Step 14:
After I sign my finished artwork (I like to use acrylic markers), I then photograph it on a white wall. You want to photograph the canvas straight on, so that it appears equal on both sides. It’s also important to use good lighting, so that the colours are as accurate as possible. Natural light works best.


