


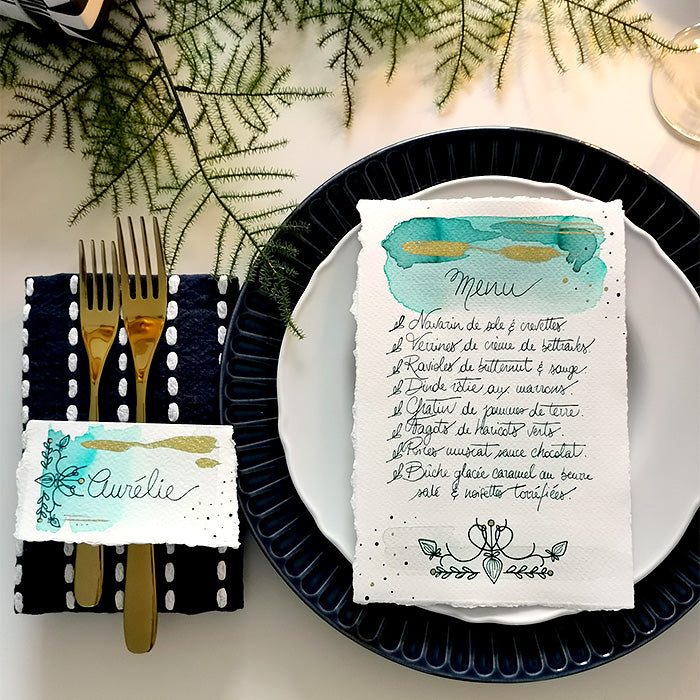
Chloé turned an ink-based composition into menus, place cards and gift tags to decorate and personalise her Christmas table and tree stand.
Follow the steps to find out how she did it!
A project by Chloé Comte.
MATERIALS:
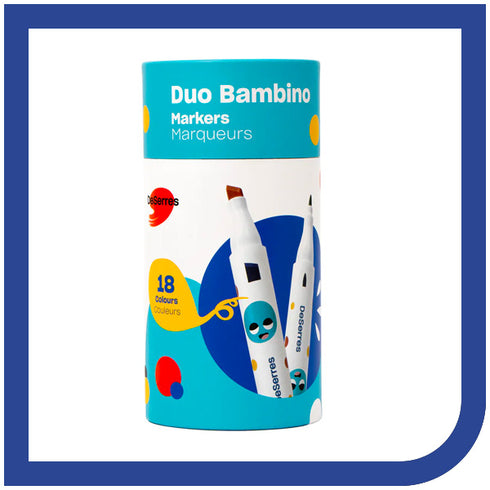
- Ferris Wheel Press® Inks
- Ferris Wheel Press® Fountain Pen
- Aqua Bronze (Gold)
- Wash paintbrushes
- Watercolour paper pad
- Pigma® Micron® Pens
- Flat wash paintbrush
- Round paintbrushes
- Double-end markers
- Steel ruler
- Bone folder (optional)

STEPS:
Start by choosing a format for each of your pieces. Here, Chloé made three different ones: menus, place cards and gift tags. For jagged edges, fold your paper neatly with a bone folder, then tear off all the edges by hand. For less jagged edges, see Tips & tricks.

Menus and gift tags:
For her menus and gift tags, Chloé used the same base. On the cut-out pieces, draw rectangles freehand with water and a flat brush.

After diluting the ink with a little water (to get the desired colour intensity), trace the wet rectangles with the ink-water mixtures until you get the desired effect.

Before the ink dries, and to create a natural gradient, with the tip of a brush, add pure ink directly from the inkwell.

To spread it on your wet rectangle, play with gravity and make the darker colour flow by moving your sheet, thus obtaining a natural gradient.

To mix colours and create controlled patches, follow the same steps as above, placing the pure ink with the tip of your brush at the intersection of two wet rectangles.

For the menus, create a large, more saturated rectangle at the top of your composition and a very faded one at the bottom.
For gift tags, fill the entire surface. Once the washes are complete, add touches of black and gold. Add the gold with a brush by mixing Aqua Bronze metallic pigments with water. Some lines were drawn with a ruler, others freehand.

To finish this composition, add some dots with a black Pigma® Micron® pen, in different sizes.

For the menus, add marker patterns at the bottom of the composition, and in front of each dish.

For the gift tags, once the composition is complete, tear off the tags by hand and perfect each one by adding gold details and black dots, before writing the names of your guests.

Place cards:
For the place cards, tear large rectangles of paper and fold them in half.
Create vertical washes, as you did for the menus and gift tags. Repeat the pattern at the bottom of the menu for a more harmonious result, and repeat the gold lines and dots, as well as the black Pigma® pen dots, before writing the names of your guests.


A DIY calligraphy set brings cohesion to a holiday setting, while providing a nice personalised touch your guests will surely appreciate.

Tips & tricks:
- For irregular and not too pronounced paper borders, Chloé recommends wetting your paper completely before folding and tearing it by hand.
- Making shapes with water and a brush allows you to create and outline a frame in which the paint will stay, without spilling over.
- Working on wet paper also makes for more uniform washes than on dry paper.
- You can easily make straight, golden lines by using a steel ruler to guide your brush.
- Use a pencil to draw all patterns and names before applying ink.
- To achieve a harmonious composition, Chloé encourages you to choose a maximum of three colours, one of which should be dominant. For Chloé, gold and black do not really count as colours in her compositions.
