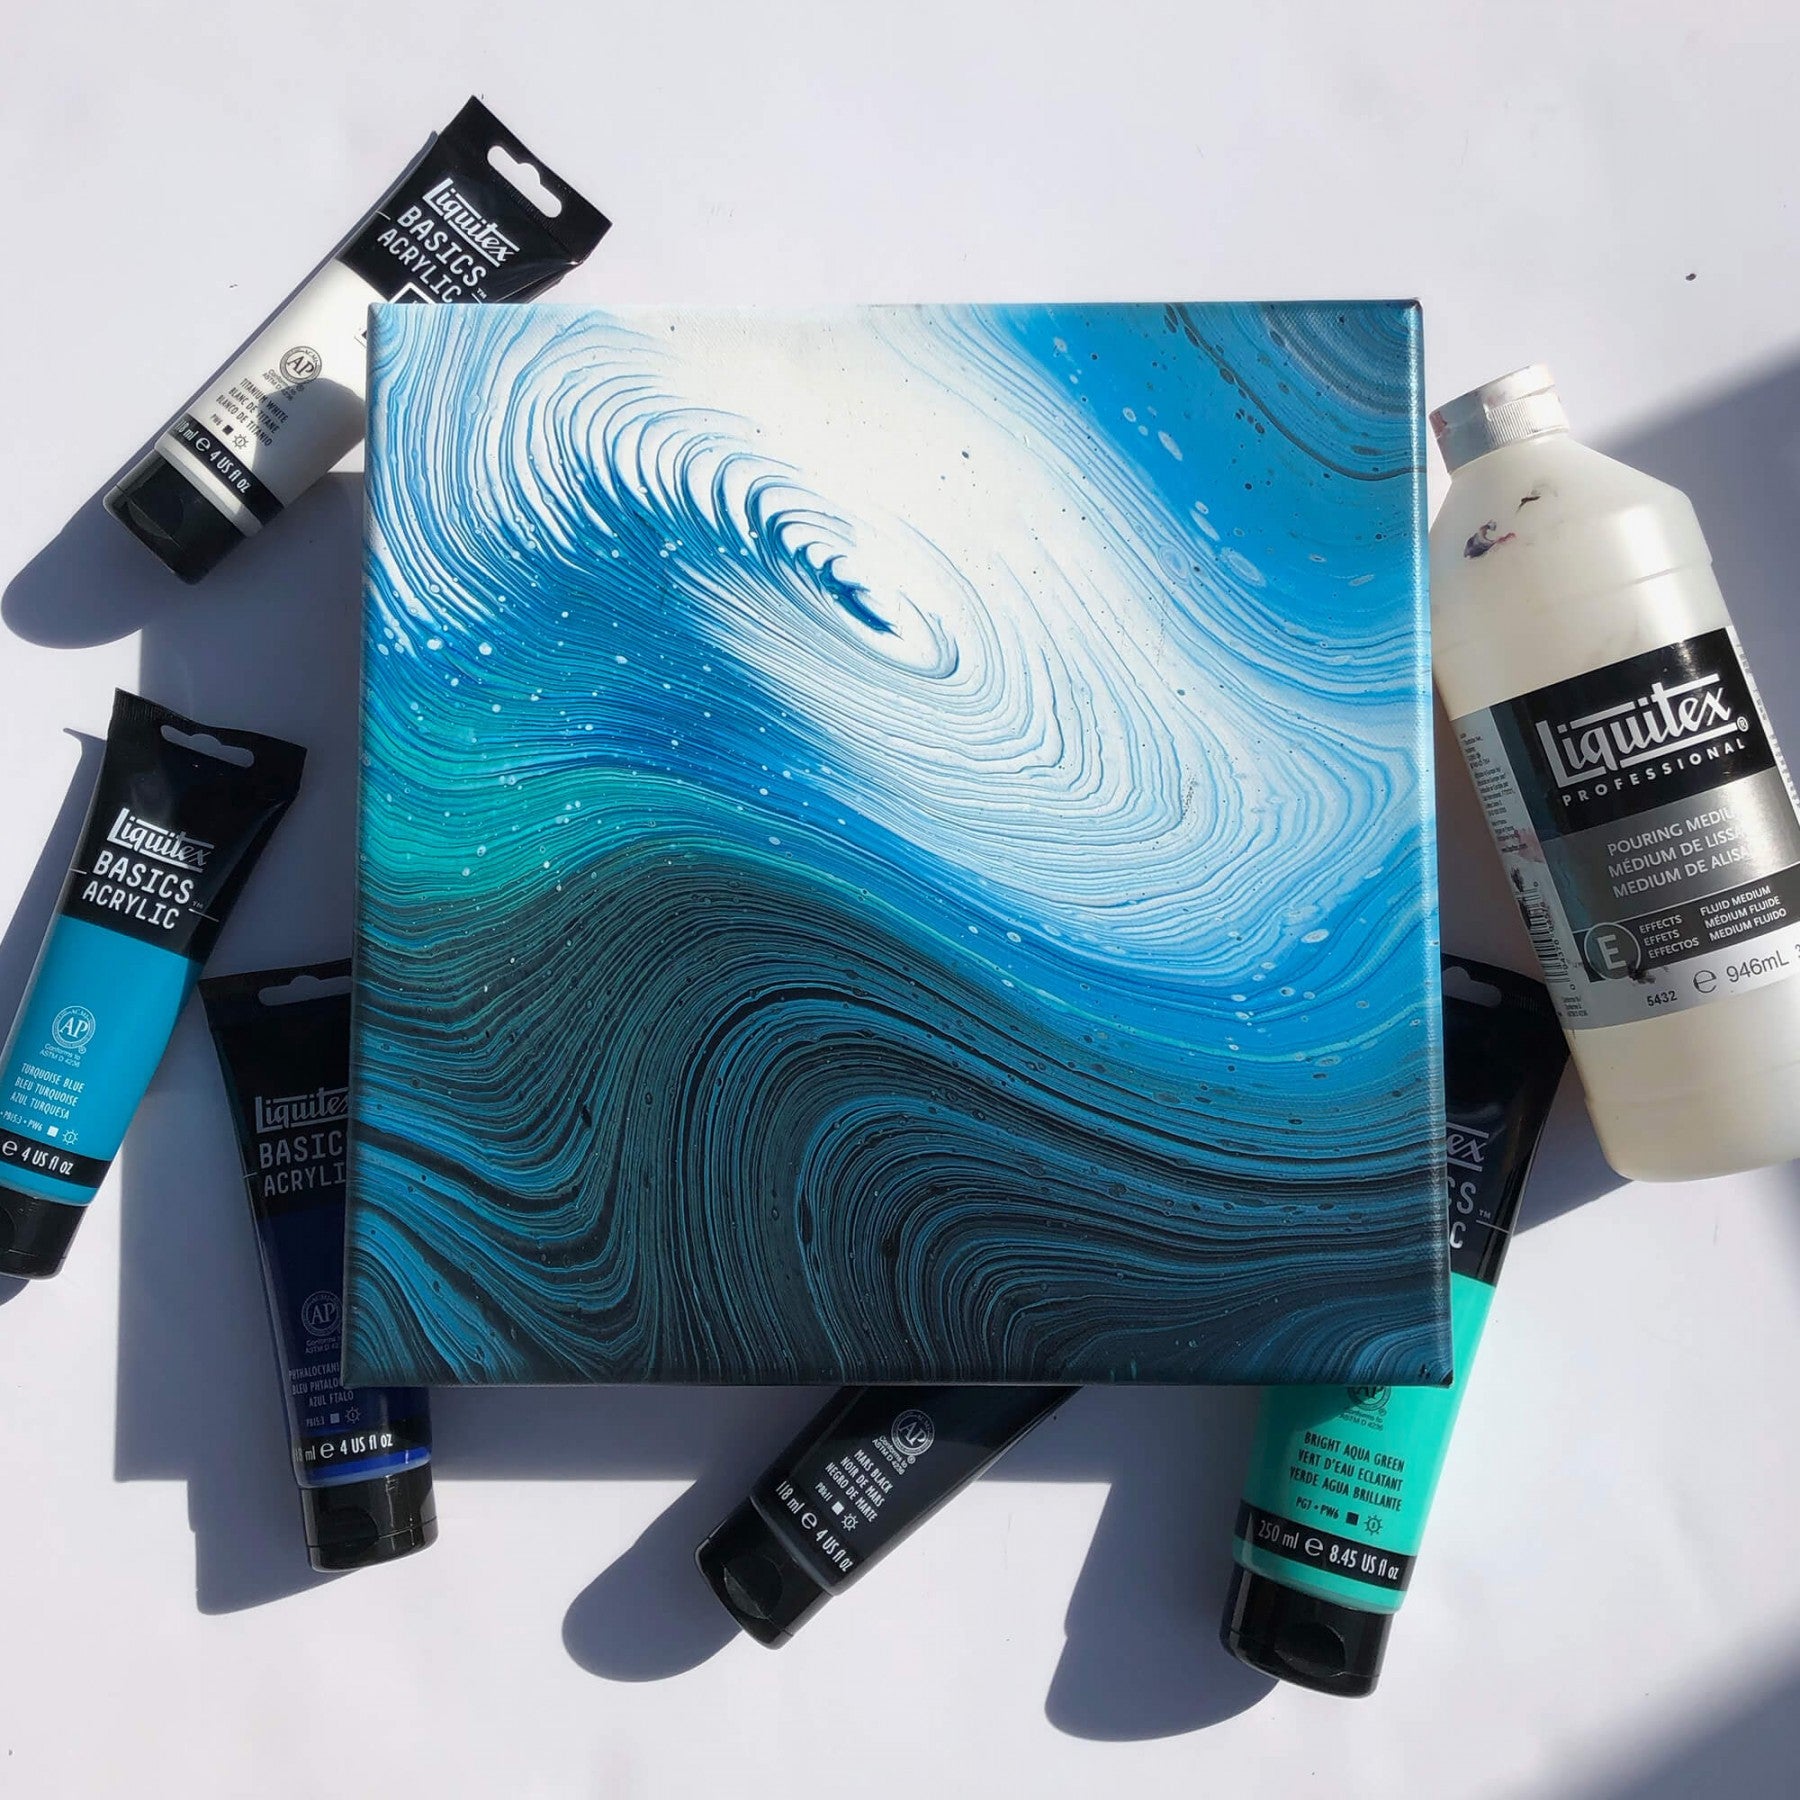
There is no right or wrong way to pour; just have fun and let your imagination run wild. That said, some techniques can spark your creativity more than others. Our DeSerres pouring expert, Mélyna Leclerc, demonstrates one of the most fascinating techniques out there, the Tree Ring Pour. Grab your containers!
MATERIALS:
- Acrylic paint
- Pouring medium
- Water
- Torch or embossing iron
- Canvas
- Glasses or containers to mix the paint in
- Wooden craft sticks
- Latex or plastic gloves (to keep your hands clean)
- Tablecloth (to protect your workspace)
INSTRUCTIONS:
Step 1 :
Prepare the acrylic paint. In a container, mix the acrylic with the pouring medium until blended. If you are using professional quality paint, mix one part paint with three parts medium. If you are using student-grade paint, mix three parts paint with one part medium. Use a separate container for each colour.
Step 2 :
Gradually add water to thin out the paint mixture until the texture is runny. The paint should flow freely off the stick. Without being as thin as water, it should have the consistency of thick cream. Stir slowly until completely blended.
Step 3 :
Slowly pour the prepared colours into a glass, one after another. They will form layers.
Step 4 :
Slowly pour the contents of the glass onto the centre of the canvas, making tiny circular motions with your wrist; the motions must be very subtle and steady. If you stray from the middle of the canvas while pouring the paint, re-centre yourself while continuing to move your wrist in a circle.
Step 5 :
Once the glass is empty, tilt the canvas to spread the rings across the entire canvas, including the sides. To preserve the round shape of the pattern, move the canvas in a circular motion. At this stage, you can let your creativity take over!
Step 6 :
Quickly pass the torch or embossing iron over the surface to remove any air bubbles.
Step 7 :
Let your canvas dry, then apply a protective finish. I like to apply several coats of Liquitex high gloss varnish or a generous coat of ArtResin epoxy resin.

TIPS
- Mix the colours well and make sure that the paint, medium and water create a homogeneous mixture.
- Mix the paint gently, at a steady pace, scraping the stick and sides of the glass. This prevents air bubbles.
- After pouring the paint on the canvas, if you don’t have enough to cover it completely, pour already prepared paint around your design. The additional paint needs to touch the paint that you’ve already poured, without saturating it.
- For best results, make sure the acrylic has a creamy, elastic texture. Paint that is too thin won’t hold the beautiful lines generated by the Tree Ring Pour technique.
- Start with small projects to perfect the technique.
- In this fluid art technique, cells are deliberately omitted, since they would break up the linear composition of the work.


