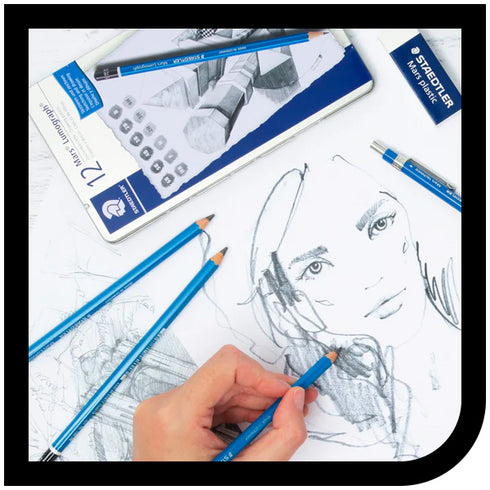


When trying to create a realistic graphite portrait, it can be difficult to master the art of highlighting. To help you with this task, artist Christelle Bilodeau put together a list of tools she wishes she had known about herself when she first started drawing. Happy discovery!

The key to a successful graphite portrait is well-balanced whites and highlights … and they make all the difference between an eye-catching drawing and one that falls flat! Artist Christelle Bilodeau shares all her favourite tools, as well as many tips and tricks for using these tools to create beautiful highlights.
Eraser
Erasers are an incredibly versatile tool. To achieve a more natural effect, especially on skin and hair, they now come in a variety of sizes, making it easier to create more precise details. For example, a bevelled eraser is ideal for creating highlights in hair, as well as recreating the natural movement of hair.

The main advantage of an eraser is how easy it is to go back if you’ve accidentally erased in the wrong place: you can simply add some graphite and start again. With an eraser, you can also easily control how much light you want to bring into your drawing, by either erasing more or erasing less.
Pastel crayon
A pastel crayon can be very useful to slightly accentuate the whiteness of erased areas: it’s a very effective, yet subtle tool. However, it should be used as a complement to the eraser, and not as a main tool.

It’s also easier to create natural movement with a pastel crayon than with an eraser, which offers more resistance against the paper surface. It’s an excellent tool for creating hair, but also for creating a wispy or blurred effect, smoke or other background elements.
Paint pen
To add extra shine, a brighter glow, such as a light reflection on metal objects (glasses, jewellery, etc.), a fine point paint pen is an excellent tool. It gives instant and very white results. It’s also great for adding the point of light we often see in eyes.

However, this type of pen should be used sparingly, as it’s almost impossible to remove the paint once it has been applied. Once it has dried, you can try to scrape it off, but it’s best to proceed with caution to avoid mistakes that can be irreparable. Also, the paint may show through if you’re working on very thin paper, so it’s best to use good quality paper.
Gel pen
White gel pens are an interesting and less aggressive alternative to paint pens. Very white, they’re great for creating very precise detailing like skin pores, beard hairs, or for filling in areas where you’ve already applied paint with a paint pen.

In the end, try several tools to see which ones you’re most comfortable with. White pens, mediums, erasers: they all have very different uses. You’ll see, you’ll love the added value they’ll bring to your drawings!

