


A French mat is a work of art in itself. The intricate lines and coloured panels complement the piece you are framing by drawing attention to the details. Learn how to master this technique today.
MATERIALS:
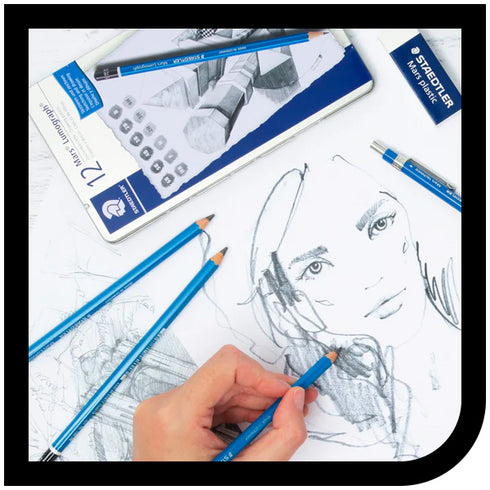
- Fine line painting pen
- Light coloured pre-cut mat or matboard
- Decorative paper
- Acrylic paint
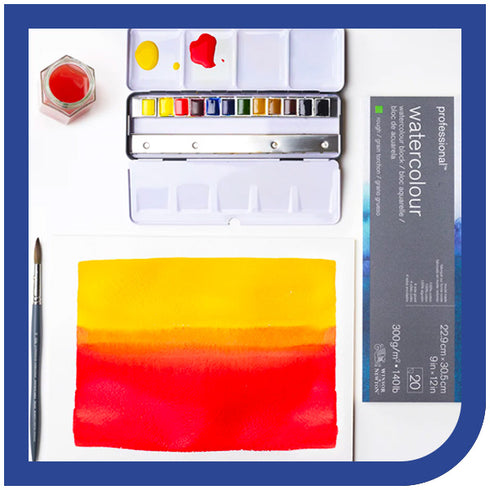
- Watercolours
- Round #6 watercolour brush
- Flat shader watercolour brush
- Cork back ruler
- Craft knife
- Cutting mat
- Acid-free double-sided tape
- Gold leaf
- Mixtion fluid for gold leaf
- Palette
- Drafting brush
- Eraser
- Pencil
INSTRUCTIONS:
How to master the fine art of French matting
Step 1:
Using a light shade of pencil, draw all the lines that you will need. Draw your first line ¼ inch from the opening of your mat all the way around. Draw your second line 3/8 inch from your first line. Draw a line 5/8 of an inch outward from your second line. Draw your fourth line 1/16 inch from that line. Finally, draw your last line ½ inch from the previous one.
Step 2:
Paint the bevel edge of your mat. Mix acrylic paint with a little bit of water to make it a very fluid ink-like consistency. Take the wide flat paintbrush, pick up your mat, and brush the paint onto the bevel by wiping it against the edge from underneath. Be careful not to paint over the edge or get too much paint pooling in the corners.

Step 3:
Fill the fine line painting pen barrel with mixtion fluid by loading a paintbrush with the fluid and scraping it into the barrel. Draw a few test lines to make sure the pen is flowing. Paint pens are an excellent tool for creating fine lines in virtually any medium! Place your ruler along the innermost pencil line and draw a line around your mat with the mixtion fluid. Allow the fluid to dry for 15 minutes then apply gold leaf foil and gently rub off the excess. Be sure to wash your paint pen well after this step, use the cleaning tool provided with the paint pen to clean the tip.

Step 4:
Mix acrylic paint with water until it is a very fluid, ink-like consistency. Fill the barrel of the painting pen with your colour and draw a few test lines to make sure all the mixtion fluid and water has been cleaned out. Place your ruler against the second line and draw across your matboard being careful to stop at the very edge of your pencil line without going over. Trace all the lines on one side of your mat in the same manner. Turn your mat and trace all the lines on the opposite side to avoid smudging the lines you just painted. Repeat this technique all the way around your mat, painting all pencil lines.
Step 5:
Mix a thin watercolour paint and test it on a scrap piece of matboard. With a round paintbrush, apply a watercolour wash to the first wide section of your mat between the acrylic lines. Be sure to keep your paint very wet and paint quickly to avoid lines and streaks. Paint as many coats as needed to achieve the desired colour.

Step 6:
Cut four 3/8-inch-wide strips of decorative paper. Apply double sided tape to the back of the paper, being careful to avoid sticking tape where the papers will intersect at the edges. Stick your paper to your mat, centered inside the ½ wide space on your mat making sure your strips overlap each other at the corners but are not glued down. Line up your ruler matching the corners of the outside edge of the mat with the inside edge and gently score the paper through with a craft knife. Glue the mitered paper edges down using double-sided tape.

Step 7:
Once all the paint has dried, gently erase all pencil lines from your mat, brushing the dust away with a drafting brush. Mount and frame your original art inside your one of a kind French mat!
